Installing uPVC cladding? This guide covers everything you need to know. From preparing the substrate and setting up battens, to choosing the right type and color of cladding, we’ve got you covered.
Key Takeaways
- Proper wall surface preparation and using insulated timber battens are crucial for a secure and efficient uPVC cladding installation.
- Choosing the right type of uPVC cladding and ensuring accurate measurements are key to achieving a stylish and functional exterior.
- Regular maintenance and inspections of uPVC cladding are essential to prolong its lifespan and maintain its aesthetic appeal.
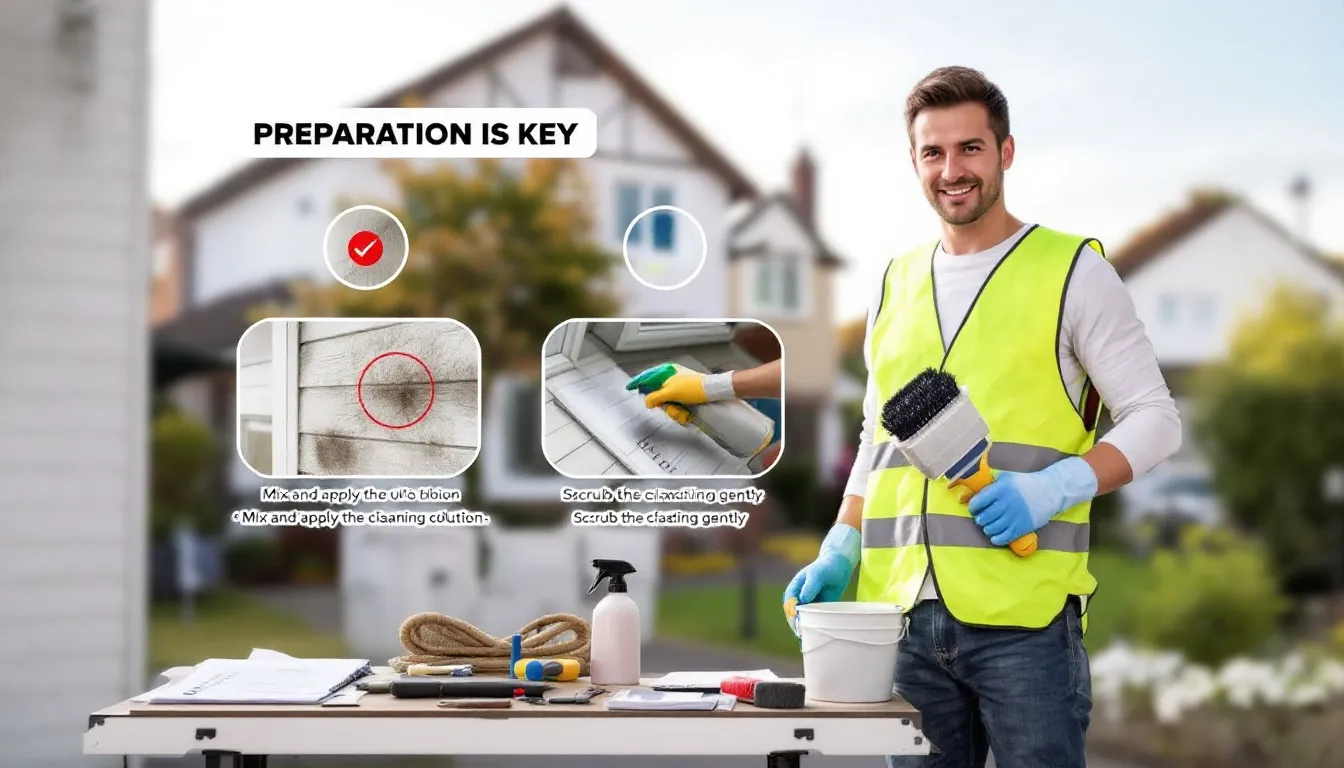
Preparing for uPVC Cladding Installation
Before installing uPVC cladding, properly prepare your wall surface by cleaning and evening it out, removing any existing cladding or debris to install cladding.
Install timber battens to create a solid framework for the cladding. Adding insulation and a vapour membrane will prevent moisture buildup, enhancing thermal performance and energy efficiency.
Substrate Preparation
Start by preparing the substrate. Thoroughly clean and even out the wall surface before beginning the cladding installation.
This ensures a smooth and secure installation process.
Battens Setup
Select good quality treated timber battens that are 35mm deep for the installation. Attach these battens securely to the external wall, ensuring they are fixed around the perimeter of any openings.
Install battens at consistent intervals, typically 400mm apart, to provide stability for the cladding. Double-check measurements to ensure the battens provide a solid framework for securing the uPVC cladding panels.
Insulation and Vapour Membrane
Add insulation behind the cladding to enhance thermal performance and energy efficiency. Install a breather membrane over the area to be clad, following the manufacturer’s guidelines.
This membrane prevents moisture penetration, ensuring the longevity and effectiveness of your uPVC cladding.
Choosing the Right uPVC Cladding
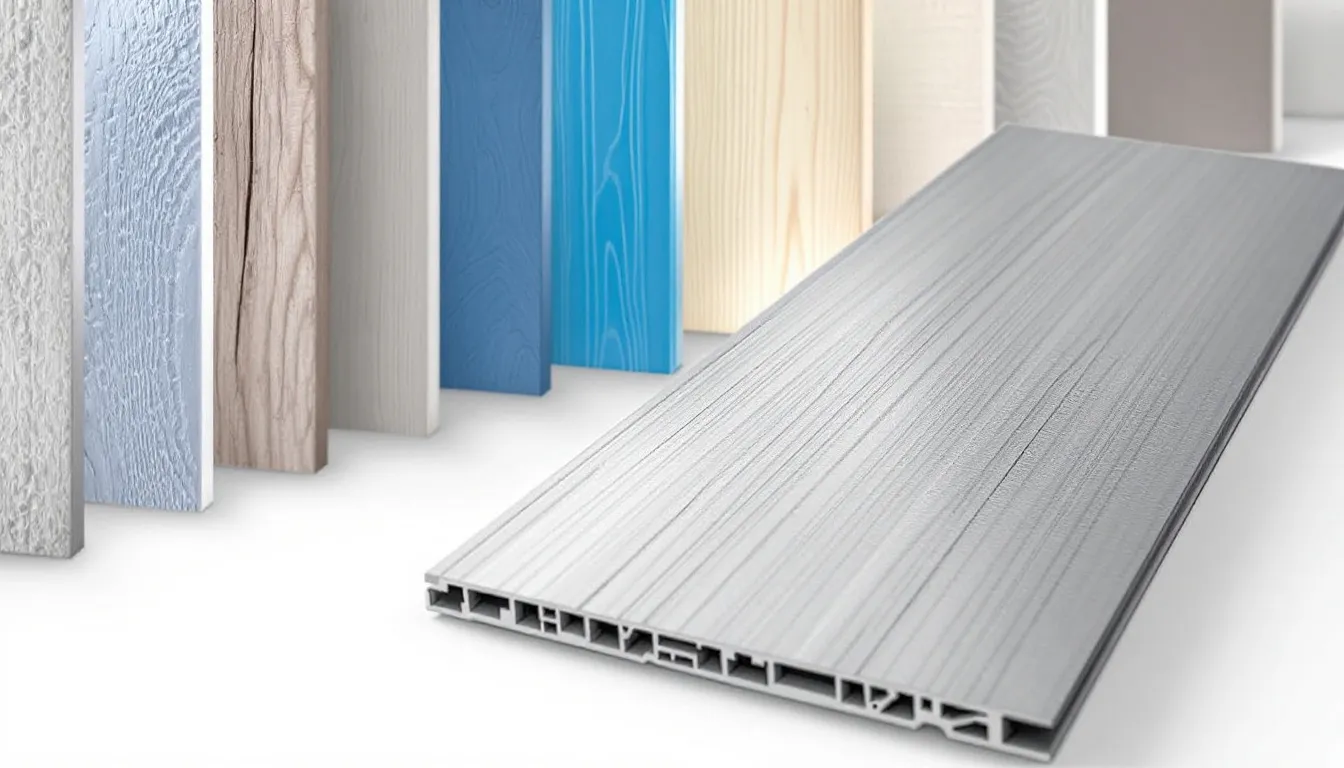
Choosing the right uPVC cladding significantly impacts your home’s appearance and functionality. Two main types based on board shape are Shiplap Cladding and Open V Cladding.
You can also choose from a variety of custom colour and finishes to match your style and home’s architectural design.
Shiplap Cladding
Shiplap cladding’s unique curved design enhances visual appeal and facilitates effective water runoff, reducing moisture issues.
Shiplap cladding is often favored for its traditional aesthetic, making it an excellent choice for homes with classic architectural styles.
Open V Cladding
Open V cladding’s unique profile enhances modern architecture’s visual appeal. It’s designed for quick installation, making it ideal for modern builds.
Custom Colors and Finishes
Though white is standard, homeowners can choose custom colors to suit their design preferences in painting. Custom colors increase the price but allow for a more personalized, unique exterior finish.
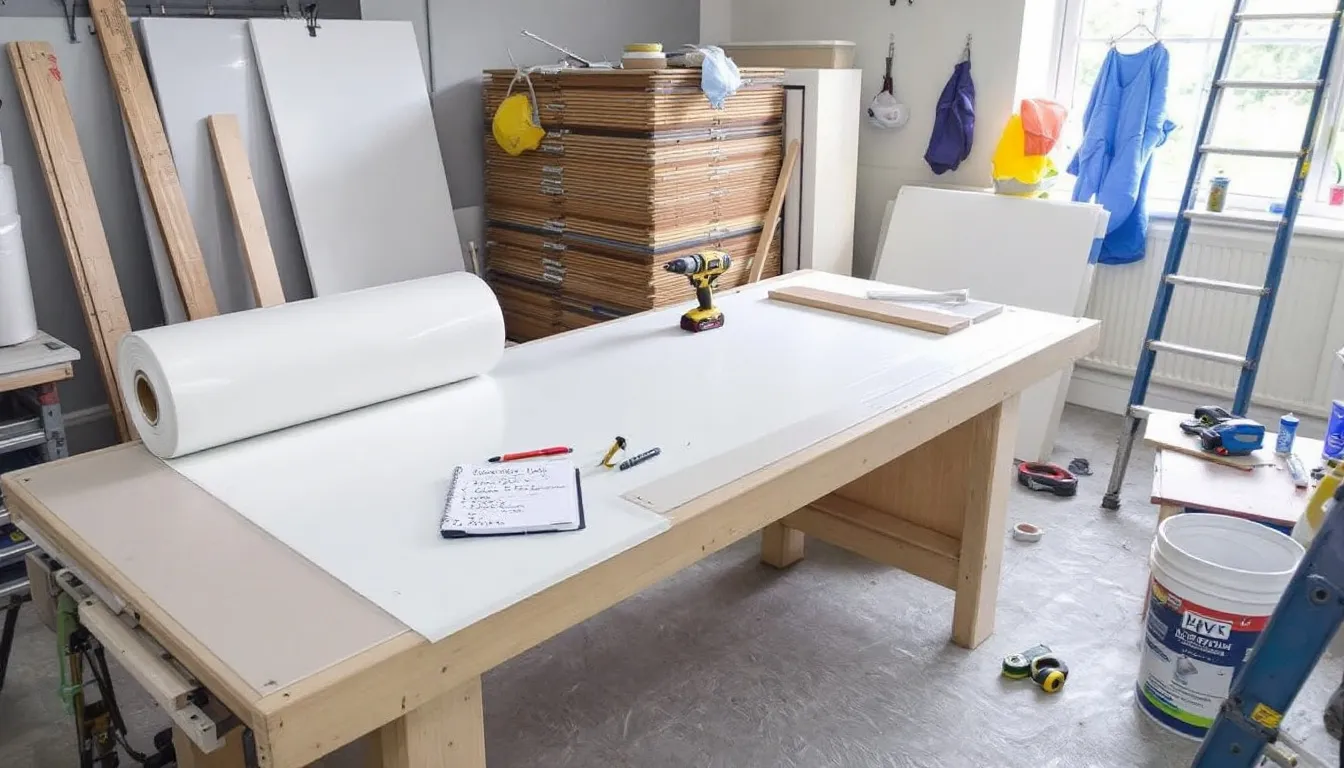
Tools and Materials Needed
The right tools and materials are crucial for a successful uPVC cladding installation. This includes 25mm stainless steel nails for securing the initial cladding plank, which is nailed in place.
Gather all necessary items before starting to avoid delays and ensure a smooth first step installation process.
Essential Tools
A tape measure ensures everything lines up accurately. Use a fine-toothed saw for cutting cladding panels to the required size.
A handsaw or power saw is crucial for cutting the panels to desired lengths. A drill is necessary for making holes for screws and securing the cladding.
Materials Checklist
Essential materials include uPVC cladding panels and timber battens for the framework. Additional materials include insulation, vapour membrane, starter trim, and proper fixings.
A materials checklist is crucial for a successful uPVC cladding installation.
Installing uPVC Cladding: Step-by-Step Process
Start installing uPVC cladding from the bottom, moving upwards to ensure proper alignment. Fix the back half initially to establish a secure foundation.
Installing trims around openings enhances the cladding’s aesthetic and functional finish. Shape or cut cladding boards accurately to fit around window and door frames for a polished appearance.
Fixing Starter Trims
The starter trim creates a level base for the first row of cladding panels. Attach it using 25mm stainless steel screws for durability. Ensure trims are level to maintain the cladding’s straightness.
Begin installation from the bottom of the wall and proceed upwards.
Attaching the First Plank
Position the first cladding plank on the starter trim. Secure it with 25mm stainless steel nails, starting from the center and moving to the edges.
Have various fixings like screws and cladding pins ready to secure the panels effectively.
Subsequent Planks
Fit each subsequent plank by hooking it over the previous one and securing it to the timber battens. Slightly overlap each plank to create a water-resistant barrier.
Seal the joints with trim to create a clean finish.
Working Around Windows and Doors
Accurate measurements are crucial when installing uPVC cladding around windows and doors to prevent wastage and ensure a snug fit. Install perimeter battens, top trims, and trims around windows to cover joints and achieve a polished appearance.
If installing new doors or windows, fit them before cladding to allow for proper cutting around the frames.
Window Trims
Install window trims before fitting the cladding boards to ensure clean edges.
Install window reveal and head trims before fitting the cladding boards to improve accuracy and achieve a neat finish.
Door Trims
Fit door trims to create a clean edge around door frames and enhance the cladding’s overall appearance. Install door trims before attaching the cladding to ensure neat edges and cover any gaps.
Adjust the cladding as necessary to ensure it fits perfectly around door frames without compromising installation integrity.
Ventilation and Drainage Considerations
Proper ventilation and drainage prevent moisture buildup and damage behind the cladding. Maintain a continuous 10mm air gap behind the cladding to facilitate ventilation. Ensure proper drainage and ventilation in the wall substrate before installing starter trims.
Shiplap cladding’s design directs water away from the wall, making it a practical option for weather resistance.
Ventilation Gaps
Ensure adequate space for ventilation behind the cladding, with nothing placed in this gap. A 10mm gap provides sufficient airflow for ventilation.
This gap facilitates airflow and prevents moisture buildup.
Drainage Solutions
Proper drainage prevents water accumulation behind the cladding, avoiding long-term damage. Create provisions for water to flow away from the wall structure. Ensure drainage channels or gaps allow water to escape, minimizing moisture buildup.
Neglecting drainage can lead to mold growth and deterioration of the cladding and underlying structure.
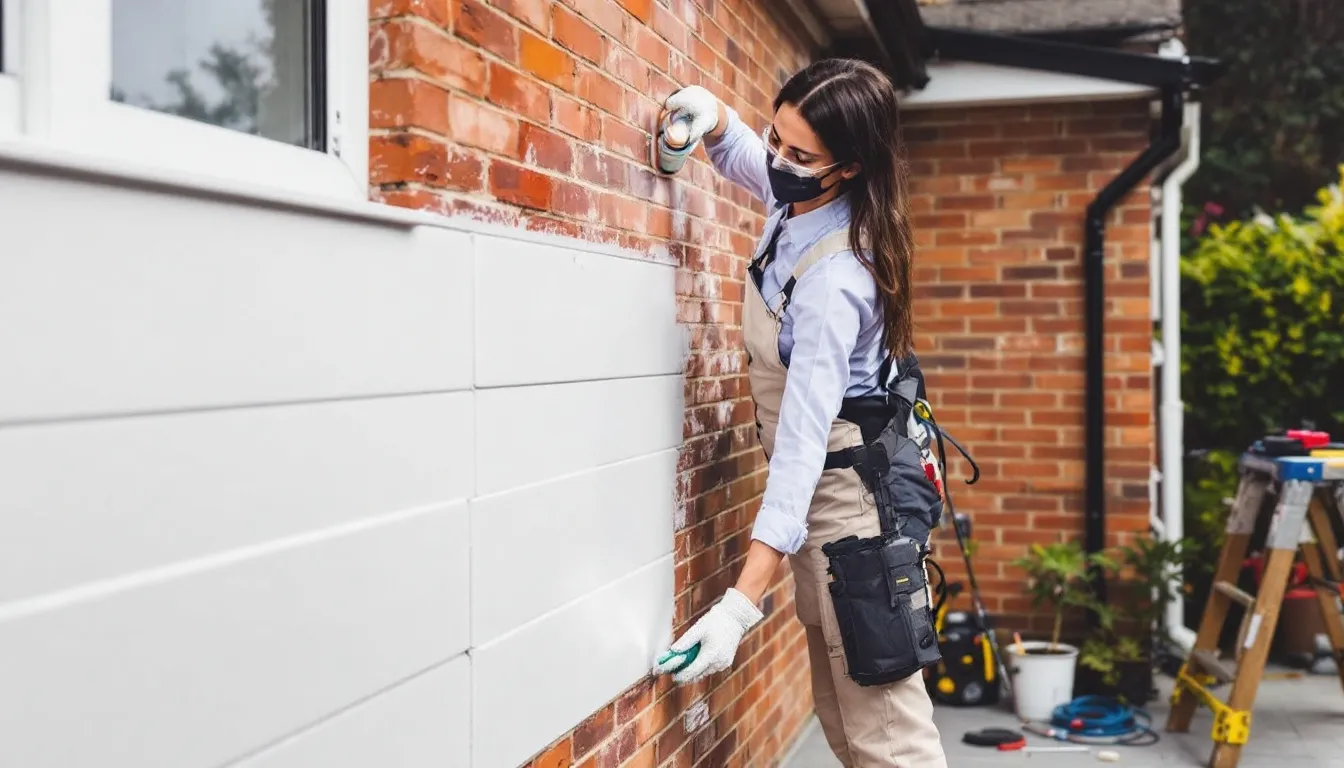
Safety Precautions During Installation
Safety is a top priority when installing uPVC cladding. Follow all health and safety regulations and wear appropriate clothing that covers arms and legs. Carry out installation in dry weather to avoid moisture issues.
Secure ladders to prevent them from slipping or tipping during use.
Scaffolding and Ladders
Scaffolding or ladders are essential for safely accessing higher areas of your home when installing uPVC cladding. For second storey installations, scaffolding ensures safety and ease of access.
Securely erect and regularly inspect scaffolding to ensure safety.
Personal Protective Equipment (PPE)
Safety equipment, including gloves and goggles, protects against potential hazards during installation. Use a mask, safety goggles, protective shoes, long sleeves, and trousers for comprehensive protection.
This ensures adequate coverage and protection from potential injuries while working, ensuring that all aspects are covered.
Common Mistakes to Avoid
Avoiding common mistakes during uPVC cladding installation can save time and materials. Inadequate planning can lead to material waste during a DIY installation. Achieving a professional-looking finish without prior experience is a challenge of a DIY approach.
When installing, fasten the first plank with nails starting from the centre and working towards the sides.
Incorrect Measurements
Inaccurate measurements can lead to improper cuts, making installation a bit difficult and causing unnecessary waste. Measure twice and plan for features like corner trims and openings to ensure a perfect fit.
Accurate use of a tape measure can prevent common pitfalls and ensure a smooth installation process.
Poor Fixings
Position the first uPVC cladding plank on the starter trim and secure it with stainless steel nails or screws. Hook and fix each subsequent plank, ensuring proper alignment and secure fixings.
Have uPVC cladding panels, timber battens, insulation, vapour membrane, starter trim, and fixings readily available to avoid delays and complications during installation.
Maintenance Tips for uPVC Cladding
Maintaining uPVC cladding keeps it looking new and performing well. Regular cleaning helps maintain its aesthetic appeal and performance. Conduct inspections at least twice a year to detect signs of wear or damage.
Address minor damages quickly to prevent them from developing into significant, costly repairs.
Regular Cleaning
uPVC cladding requires maintenance every few years to keep it looking new and performing well. Use a mixture of mild soap and water to wash it for effective cleaning. Regular cleaning maintains its aesthetic appeal and performance, ensuring it remains a long-lasting and low-maintenance solution.
Inspecting for Damage
Regular inspections are crucial for identifying signs of damage or wear before they escalate into significant issues. Visually inspect the cladding for cracks, warping, or discoloration as part of regular maintenance.
Address any detected damage immediately to prevent further deterioration and ensure the longevity of your cladding.
Building Regulations and Planning Permission
Understanding building regulations and planning permissions is crucial for uPVC cladding installation. Planning permission is usually not required for homes under 11 meters in height, but cladding must be installed at least 1 meter away from property boundaries to comply with regulations.
Older properties may require a building inspection before cladding installation to ensure compliance.
Compliance Requirements
Building regulations for uPVC cladding cover thermal insulation requirements. When replacing more than 25% of the cladding, building regulations will apply. If unsure about planning permission for cladding, consult your local planning office.
Differences in installation techniques and ventilation needs exist when installing white cladding or light color versus foiled/woodgrain cladding.
Planning Permission
Planning permission may be mandatory before beginning any installation of external cladding on a property. Properties in conservation areas may need planning permission for cladding installations.
If unsure about the need for planning permission, contacting your local planning authority is recommended.
Alternatives to uPVC Cladding
Exploring alternatives to uPVC cladding can offer homeowners additional options for their exterior renovation projects. Timber cladding provides a natural look and is often chosen for its aesthetic appeal and sustainability. PVC cladding is another option to consider.
Fibre cement cladding is another popular option known for its durability and very low maintenance needs.
Timber Cladding
Timber cladding offers a classic aesthetics that enhances the visual appeal of buildings, adding uniqueness and potentially increasing property value. Wood is a renewable material that is biodegradable, making timber cladding an environmentally friendly choice.
Timber cladding can be highly durable, especially when utilizing hardwood species that resist weather damage.
Fibre Cement Cladding
Fibre cement cladding is known for its durability and low maintenance needs, making it a popular alternative. This type of cladding is non-combustible and resistant to common issues like rotting and warping, offering a long lifespan with minimal maintenance.
Fibre cement cladding is praised for its resistance to pests, rot, and harsh weather conditions, making it a durable choice.
Cost Breakdown of Installing uPVC Cladding
The cost of installing uPVC cladding can vary significantly based on the cladding type and the home’s size. White shiplap cladding costs between £1,250 and £1,750 for a typical installation. Installation costs are higher for rosewood-colored cladding, averaging around £5,000.
Larger areas increase the cost of installing uPVC cladding.
Material Costs
The average price of white uPVC cladding per square meter is approximately £35. The average cost for installing uPVC shiplap cladding is £56 per square meter. This pricing refers specifically to the installation of this type of cladding. Material costs for uPVC cladding can vary based on the quality and type of cladding selected.
The average cost of installing uPVC cladding can add up to around £1,500.
Labor Costs
Typical labor costs for installing uPVC cladding range from £150 to £200 per day. Tradespeople typically charge between £150 and £200 daily for installing uPVC cladding.
Labor costs for installing uPVC cladding are influenced by the complexity and size of the project.
Additional Expenses
Scaffolding hire is a major cost; consider completing other jobs simultaneously to optimize expenses. The average cost for scaffolding hire during cladding installation typically ranges from £3,000 to £6,000, averaging around £4,000. Factors affecting scaffolding hire costs include the height of the home.
Before hiring scaffolding, it’s advisable to talk to tradespeople about scaffolding costs to get accurate estimates.
Hiring a Professional vs. DIY
When deciding between hiring a professional or taking a DIY approach for uPVC cladding installation, it’s important to weigh the benefits and drawbacks of each option. DIY offers cost savings but may lack the expertise that professionals provide.
Combining scaffolding-required jobs can reduce overall costs.
Professional Installation
Experienced installers can quickly assess and address structural issues that may complicate the project. A professional installation often comes with a warranty that cover the work done. Professionals can often complete the job faster than a DIY approach due to their experience.
Hiring experienced tradespeople for uPVC cladding installations ensures a high-quality finish that meets professional standards.
DIY Approach
Installing uPVC cladding is an approachable task for those willing to invest some time and effort. No specialist tools are required to install uPVC cladding.
Completing the installation successfully relies on careful planning and execution of steps involved.
Summary
In conclusion, installing uPVC cladding is a highly rewarding project that can significantly enhance your home’s exterior. By following the steps outlined in this guide, you can ensure a smooth and successful installation process. From preparing your walls to choosing the right type of cladding, gathering essential tools and materials, and adhering to proper installation practices, each step is crucial for achieving a professional finish.
Whether you choose to hire a professional or take on the DIY approach, the key is to plan carefully, measure accurately, and follow safety precautions. With the right preparation and execution, your uPVC cladding installation can provide a durable, low-maintenance, and aesthetically pleasing exterior for years to come.
Frequently Asked Questions
Do I need planning permission to install uPVC cladding on my home?
You typically do not need planning permission for installing uPVC cladding on homes under 11 meters in height; however, it is essential to confirm with your local planning authority.
What are the benefits of using Shiplap cladding?
Using Shiplap cladding enhances visual appeal while promoting effective water runoff, which minimizes the risk of moisture issues. This combination makes it a practical and stylish choice for various projects.
How often should I clean my uPVC cladding?
You should clean your uPVC cladding every few years using a mixture of mild soap and water to preserve its appearance and functionality. Regular maintenance will help ensure its longevity and optimal performance.
Can I install uPVC cladding myself, or should I hire a professional?
You can install uPVC cladding yourself if you’re willing to invest the time and effort, but hiring a professional will guarantee a high-quality finish and faster completion.
What is the cost of installing uPVC cladding?
The cost of installing uPVC cladding typically ranges from £1,250 to £1,750, depending on the type and size of the home. It’s essential to consider your specific requirements to get an accurate estimate.