Welcome to our in-depth guide on Quick Dry Polyfilla, where we unravel the mysteries of Polyfilla drying times for DIY enthusiasts and renovation experts alike. Quick Dry Polyfilla is a staple in home improvement, famed for its fast-acting properties, making it an ideal choice for speedy repairs. But understanding its drying time is crucial for achieving a smooth, professional finish. In this article, we explore the factors that influence drying time, tips for efficient application, and how to optimize your project timeline. Delve in to master the art of quick and effective home repairs.
Brief Overview
Understanding how Quick Dry Polyfilla works and its drying time is vital for effective home renovations. This versatile product is a favorite among DIY enthusiasts due to its fast-setting properties, ideal for addressing cracks and holes swiftly. Key factors affecting drying include layer thickness, temperature, and humidity, with proper application ensuring a seamless finish. Preparing surfaces meticulously and choosing the right paint post-application can enhance both the aesthetic and durability of your projects. By following best practices and avoiding common mistakes, you can achieve professional-grade results in transforming your spaces.
Key Highlights
Quick Dry Polyfilla offers fast-acting properties ideal for quick and efficient home repairs.
Understanding Polyfilla drying factors like temperature, humidity, and layer thickness enhances project efficiency.
Proper surface preparation and thin application layers are crucial for optimal Quick Dry Polyfilla performance.
Choosing the right paint complements Polyfilla repairs, enhancing aesthetics and durability.
Patience and proper environmental conditions ensure a professional finish with Quick Dry Polyfilla.
Introduction to Quick Dry Polyfilla
Discover the world of Quick Dry Polyfilla for your home renovation needs. Designed to meet the demands of DIY enthusiasts and professionals alike, this product is renowned for its quick-drying capabilities, ensuring efficient repairs. As a leading filler for small and large projects, it transforms surfaces with ease. You’ll learn about its versatile uses and how it sets quickly to save time. Join us as we explore what makes this filler a staple in the UK construction industry, and why it should be part of your next project setup.
| Key Attributes | Benefits | Applications | User Recommendations |
|---|---|---|---|
| Fast Drying | Quick finishing time | Wall and ceiling repairs | Ideal for urgent projects |
| Easy to Sand | Smooth finish | Filling cracks and holes | Recommended for beginners |
| Strong Adhesion | Long-lasting repairs | For both interiors and exteriors | Best for high-traffic areas |
The table outlines the essential features and varied applications of Quick Dry Polyfilla, underscoring its role in efficient home renovations.
What is Quick Dry Polyfilla?
Quick Dry Polyfilla is essential for achieving a smooth, professional finish in home renovations. This quick-drying polyfilla stands out for its exceptional drying speed and high-quality results. Known simply as Polyfilla, it’s perfect for filling cracks and holes on interior surfaces. As it quickly sets, you can complete tasks promptly without compromising on quality. The clear advantage of this product is not only its drying efficiency but also how seamlessly it blends with existing surfaces. It’s versatile, making it ideal for walls, ceilings, and other indoor features. Keep it handy to ensure your renovation tasks are executed smoothly and efficiently, making it a preferred choice among DIY enthusiasts and professionals alike.
With its versatile nature, Quick Dry Polyfilla proves to be a go-to solution for various repair tasks around the home.
- Easily fills small to medium cracks in walls, ensuring smooth surfaces for painting or wallpapering.
- Dries rapidly, allowing for faster project completion without lengthy waiting times.
- Adheres well to different surfaces including plaster, wood, and masonry, making it highly versatile.
- Shrink-resistant formula provides long-lasting repairs that maintain their integrity over time.
- Sands to a smooth finish, reducing preparation time before final decorating steps.
- Ideal for quick touch-ups, preserving the appearance of any room effortlessly.
This reliable filler enhances productivity and delivers professional results in home improvement projects.
Understanding Polyfilla Drying Time
Polyfilla drying time is crucial for ensuring the success of your home renovation projects. This handy guide explores how quick dry Polyfilla works and what influences its drying time. Understanding these factors can significantly improve your renovation efficiency, ensuring a seamless and professional finish. We’ll delve into the elements that affect drying, like environmental conditions and application techniques. Learn how to achieve a fast-drying process, identify the impact of humidity, temperature, and layer thickness. With these insights, DIY enthusiasts can master the art of using Polyfilla effectively and enhance their renovation skills.
| Factor | Impact on Drying Time | Recommendations |
|---|---|---|
| Humidity | Higher humidity prolongs drying time | Use dehumidifiers to control room moisture |
| Temperature | Lower temperatures slow down drying | Maintain room temperature between 18-25°C |
| Layer Thickness | Thicker layers take longer to dry | Apply thin layers, allowing each to dry before adding more |
| Ventilation | Poor ventilation slows down evaporation | Ensure proper air circulation in the working area |
This table summarizes essential factors affecting Polyfilla drying time, helping DIY enthusiasts achieve optimal results effortlessly.
Factors Affecting Drying Time
Several factors play a role in determining how quickly your Polyfilla will dry. One of the main elements is the thickness of the layer applied. Thin layers are known to dry Polyfilla faster compared to thicker applications. Temperature and humidity also significantly impact the drying process. Applying heat can be an effective way to accelerate drying, as warmer temperatures reduce drying time while maintaining the integrity of the filler. Conversely, colder environments can prolong the drying period, so keeping your workspace warm is advisable. Moreover, ensuring proper ventilation helps by facilitating air circulation, effectively aiding the drying process. Always apply Polyfilla evenly and in controlled conditions to maintain optimal drying times, which is vital for achieving the desired results in your renovation projects. Understanding these factors ensures your hard work results in a beautifully smooth and professional finish.
| Factor | Impact on Drying Time | Recommendations | Additional Notes |
|---|---|---|---|
| Temperature | Lower temp slows drying | Use in warm, ventilated areas | Avoid cold, damp conditions |
| Humidity | High humidity prolongs drying | Apply in dry conditions | Consider a dehumidifier |
| Layer Thickness | Thicker layers increase time | Use multiple thin layers | Ensure even application |
| Ventilation | Poor airflow delays drying | Ensure proper ventilation | Open windows or use fans |
This table highlights key factors influencing Polyfilla drying time, offering valuable insights for efficient home renovation projects.
Preparing Surfaces for Polyfilla Application
When preparing to apply Quick Dry Polyfilla, a meticulously prepared surface ensures optimal results. Proper preparation directly affects the efficiency and effectiveness of the application process and influences how well the Polyfilla adheres to various substrates like wood or walls. This section will guide DIY enthusiasts through essential steps for effective surface preparation. Whether you’re tackling a room renovation, managing a small surface area, or working on a wood floor, following these steps will pave the way for a successful decorating outcome. Let’s dive into what makes a surface ready for that perfect Polyfilla finish.
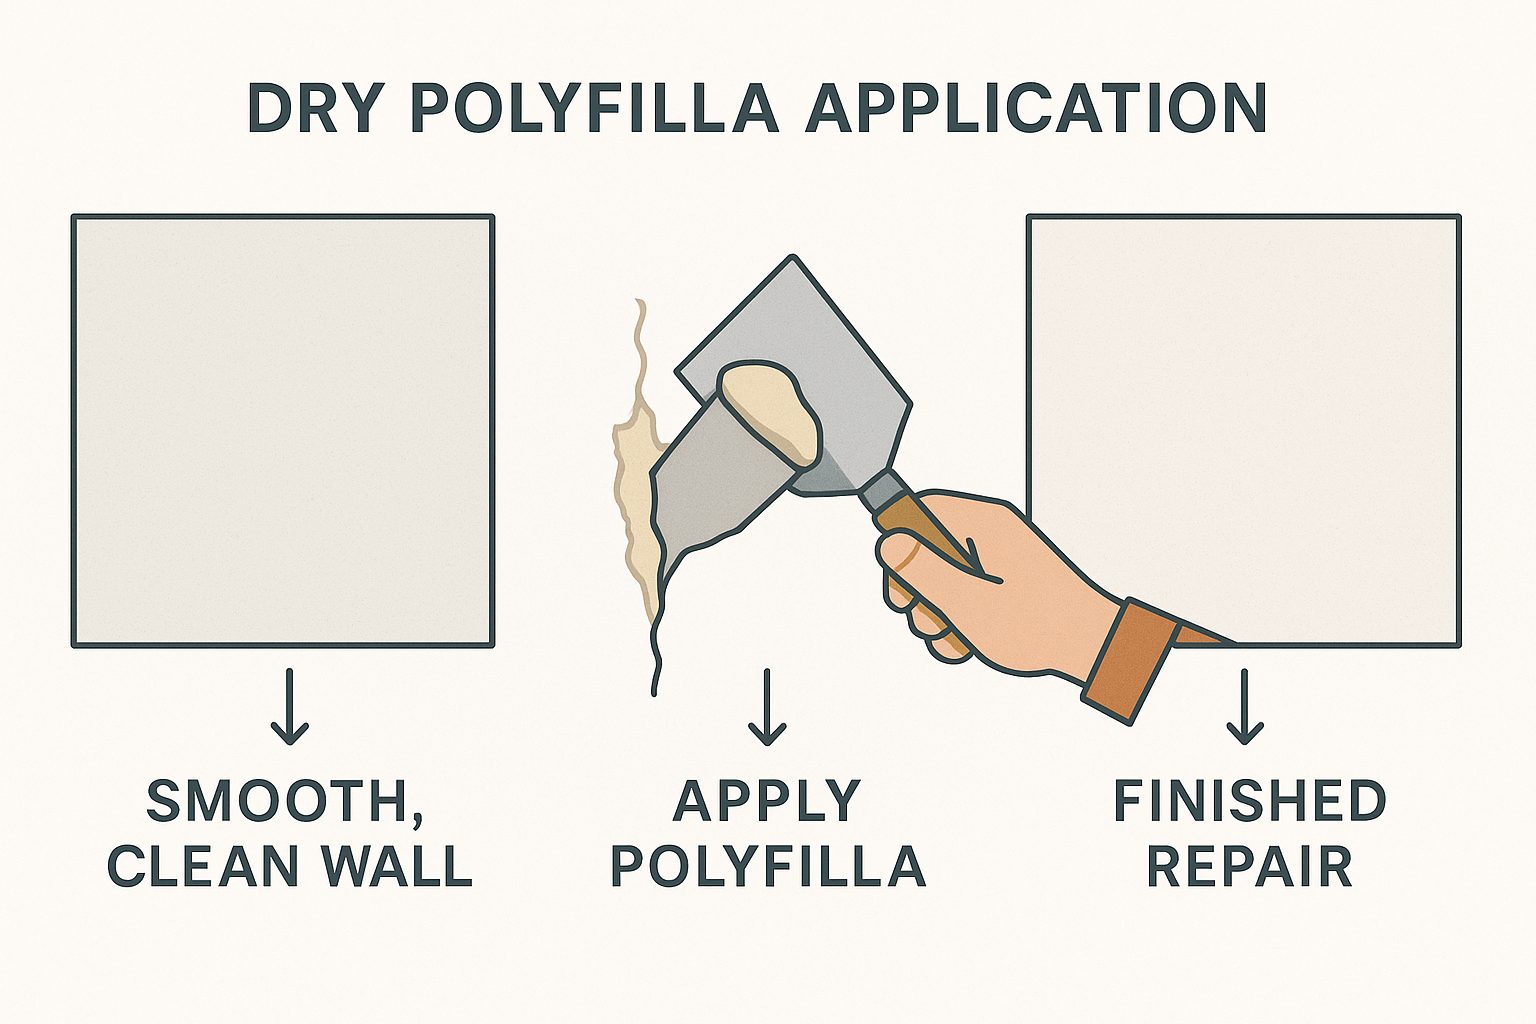
Essential Steps for Effective Surface Preparation
Proper surface preparation is a crucial step before applying Quick Dry Polyfilla. Start by ensuring your room is well-ventilated, which is key for both the drying process and for providing clear visibility of the task at hand. Begin by cleaning the area to remove dust, debris, and oils that can hinder adhesion. This is especially important for porous surfaces like wood, which need extra attention. Use water sparingly to clean the surface, ensuring it is dry before proceeding. If you’re working on a floor or a large surface area, ensure it’s flat and free from any previous coatings that could impede the Polyfilla’s performance. After cleaning, inspect the surface for any cracks or imperfections. For wood surfaces, sanding helps to smooth out irregularities, providing a better bond for the Polyfilla. When working in smaller areas or specific spots in a room, tape off adjacent surfaces to prevent any spillage or overlap that might occur during the application process. Ensuring that your surface is not only clean and dry but also adequately primed, can significantly enhance the performance and longevity of your Polyfilla application. By following these steps, you’ll create an optimal canvas for a flawless finish.
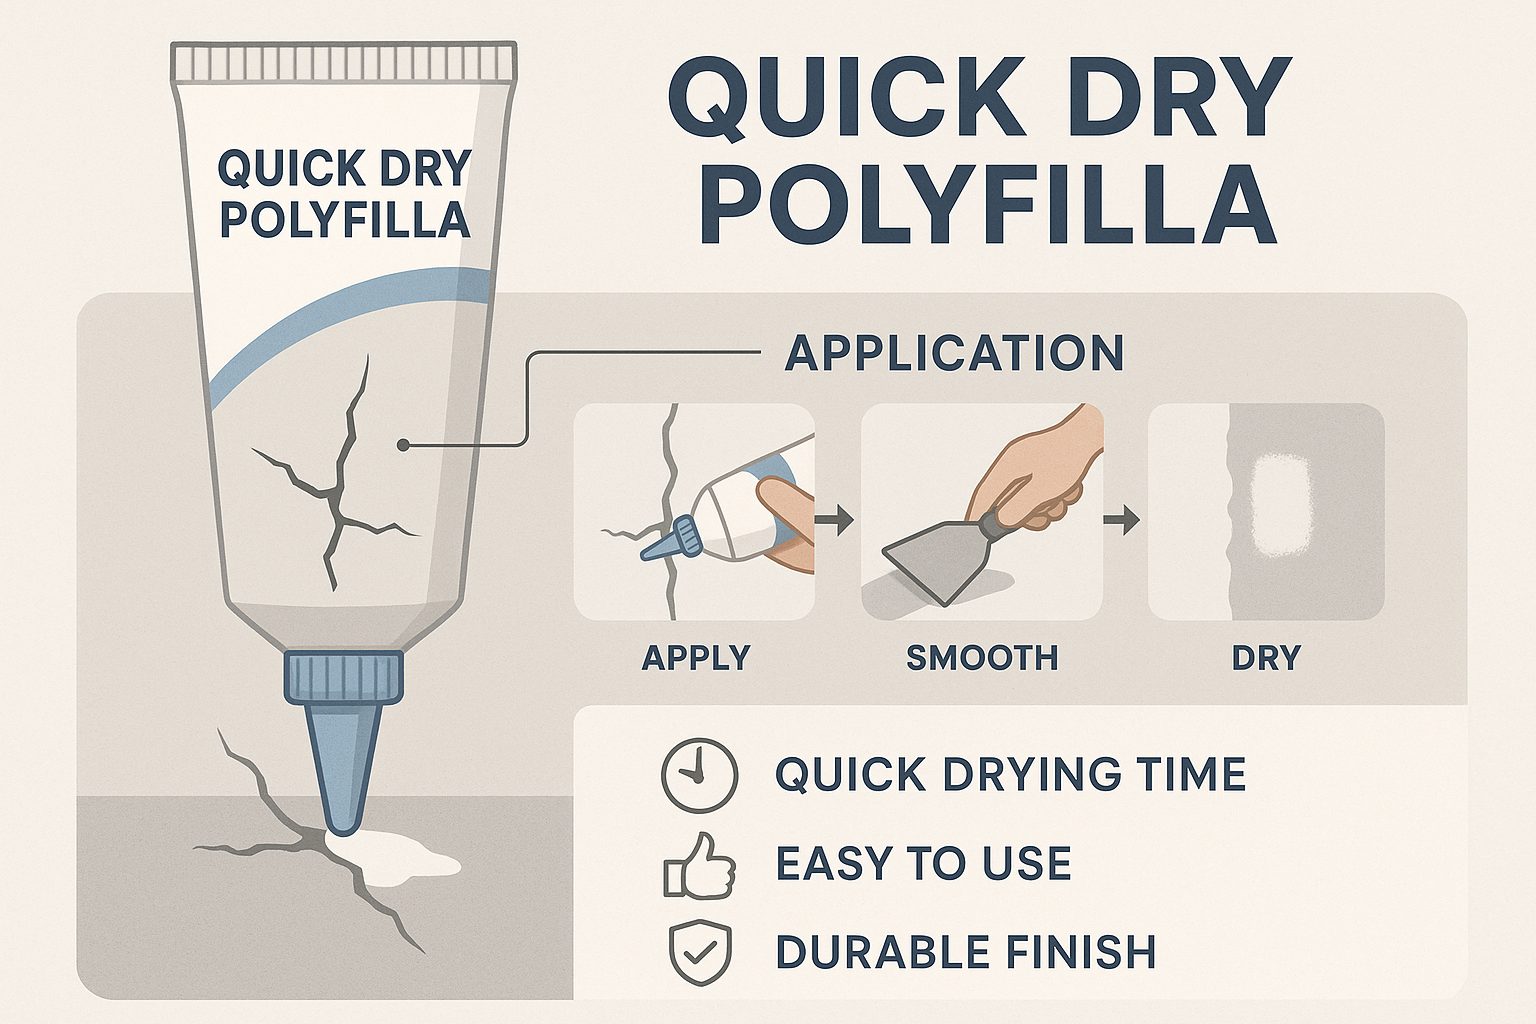
Application Techniques for Dry Polyfilla
Achieving a flawless finish with Quick Dry Polyfilla requires proper application techniques. Following best practices can significantly impact how smoothly the filler settles and ensure it dries effectively. In this section, we’ll explore insights into applying filler smoothly and using techniques that enhance drying time. Mastering these methods is essential for DIY enthusiasts aiming to perfect their home renovation projects. Discover how thin layers and controlled conditions can lead to exceptional results, making your renovations not only more efficient but also professionally polished.
| Aspect | Description | Impact | Recommendations | Considerations |
|---|---|---|---|---|
| Importance of Thin Layers | Ensure even and quicker drying. | Reduced risk of cracking. | Apply in thin, even coats. | Build up layers gradually if needed. |
| Surface Preparation | Clean and sand for smoothness. | Prevents imperfections. | Remove dust and debris. | Ensure surface is dry before application. |
| Tools and Techniques | Use appropriate tools for best finish. | Smoother application and finish. | Use a putty knife or spatula. | Employ consistent pressure. |
| Environmental Conditions | Ideal temperature and humidity assist drying. | Enhances application and drying speed. | Work in well-ventilated areas. | Avoid conditions that are too hot or humid. |
| Drying Time Management | Proper drying time ensures durability. | Avoids future surface blemishes. | Use fans to facilitate airflow. | Do not rush the process. |
This summary table complements the text by clearly organizing the key points discussed about the application techniques for Quick Dry Polyfilla. It provides an at-a-glance reference that enhances understanding and aids readers in achieving optimal results with their home renovation projects.
Best Practices for Applying Filler Smoothly
Applying Quick Dry Polyfilla smoothly is vital for achieving professional results in home renovations. To start, always apply thin layers to ensure swift drying, as thicker applications can lead to protracted drying times. Begin with a clean and smooth surface, which is crucial for the filler to bond well and dry clear. While applying, a wide putty knife is recommended to achieve an even spread and minimize any potential imperfections. Ensuring the room is well-ventilated will not only enhance drying but also maintain a healthy workspace. Additionally, strategically applying heat in colder environments can accelerate the drying process, making use of a portable heater or heat lamp to help the filler dry more quickly. Consistent air circulation combined with these techniques ensures a smooth application, helping you avoid common pitfalls that can affect the finish quality. Finally, patience is key, allow ample time for each layer to dry completely before proceeding with additional coats or painting over the Polyfilla. This attention to detail guarantees that your renovation projects end with a flawless and enduring finish.
Choosing the Right Paint After Polyfilla
After applying Quick Dry Polyfilla, selecting the right paint is essential to achieve a flawless and lasting finish. The choice of paint should complement the surface, whether it’s walls, wood furniture, or decking, and meet the requirements of the decorating project. Consider using high-quality paint that resists stains and offers vibrant color, ensuring the paint adheres well to the polyfilled area. This approach not only enhances the aesthetic appeal but also contributes to the durability of your renovation efforts. Proper paint selection is vital for achieving that polished, professional look you’re aiming for.
| Surface Type | Paint Features | Preparation Steps | Application Tips | Durability Enhancements |
|---|---|---|---|---|
| Walls | Stain-resistant, low VOC | Sanding, cleaning, priming | Use a roller, maintain even pressure, allow adequate drying time between coats | Seal with a clear coat, regular maintenance |
| Wood | Weatherproof, UV-resistant | Sanding, dust removal, priming | Use a brush for precise application, prevent drips by applying thin coats | Apply multiple thin layers, use a top coat for protection |
| Decking | Anti-slip, durable | Power wash, sand, prime | Use a wide brush, follow wood grain direction, check weather conditions | Apply sealant, re-treat regularly to maintain finish |
| Metal | Rust-resistant, quick-dry | Sand, apply rust inhibitor, prime | Use a spray gun for even coating, avoid windy conditions during application | Regular touch-ups, inspect for signs of wear frequently |
This table provides a concise overview of the essential steps and considerations when painting over Polyfilla, ensuring a professional, long-lasting finish.
How to Paint Over Polyfilla for a Professional Finish
Painting over Polyfilla requires careful preparation to achieve a professional finish. Begin by ensuring the polyfilled area is perfectly smooth and dry, as any imperfections will be highlighted post-painting. Lightly sand the surface to create an even texture, which helps the paint adhere better, especially on wood or decking. Cleaning the area is essential to remove any dust or debris that might stick to the wet paint. For a seamless finish, use a primer to cover the Polyfilla; this step is crucial as it prevents stains from bleeding through. When selecting paint, opt for one that suits the specific area, such as moisture-resistant paint for bathrooms or durable paint for high-traffic halls. Apply with a quality brush or roller, ensuring even coverage. Each layer should dry thoroughly before applying the next. Finally, don’t rush; let the paint cure fully to safeguard against potential wear and tear. With patience and the right materials, your painted surface will stand the test of time, complementing your freshly polyfilled work.
| Surface Type | Paint Recommendations | Preparation Steps | Application Tips |
|---|---|---|---|
| Interior Walls | Water-based Emulsion Paint | Smooth and sand the surface after Polyfilla has dried | Use a roller for even coverage |
| Exterior Walls | Acrylic Masonry Paint | Ensure the Polyfilla is weather-resistant and dry | Apply during dry weather conditions |
| Wood Surfaces | Acrylic or Oil-based Wood Paint | Prime bare wood with an appropriate primer | Brush along the grain for best results |
| Metal Surfaces | Rust-resistant Metal Paint | Sand and clean the surface thoroughly | Apply thin, even coats to prevent drips |
This table synthesizes essential considerations for achieving a high-quality finish when painting over Polyfilla, helping to elevate both the appearance and durability of your project.
Common Mistakes to Avoid
While Polyfilla is a fantastic option for DIY enthusiasts looking to perfect their finishing touches, overlooking certain aspects in its application can lead to less than ideal results. Ensuring a professional finish involves more than simply applying the product. Missteps can happen when rushing through the drying process or neglecting to apply heat in cooler environments. Also, using excessively thick layers often results in prolonged drying times, compromising the surface finish. In this discussion, we explore key tips to avoid these pitfalls and achieve a smooth, effective application, enhancing both the appearance and longevity of your Polyfilla repairs.
Tips for Ensuring a Smooth Drying Experience
Avoiding common DIY mistakes with Quick Dry Polyfilla starts by applying thin layers, as they dry much faster, ensuring a clear and seamless finish. If you find drying times are longer than expected, consider the environment; ideally, the workspace should be warm with adequate ventilation. To accelerate drying, apply heat using portable heaters or lamps, especially useful in colder settings. Remember, patience is crucial, allow Polyfilla to fully dry before adding further coats or moving onto paint. This practice ensures that the surface won’t be disturbed, leading to a professional, smooth appearance. A controlled and cautious approach avoids rework, saving time, and ensures your surface is prepared for painting, or additional decorating. Engaging with these tips will undoubtedly enhance your DIY renovation projects, leading to efficient and satisfactory results. Join the community of DIY enthusiasts who have refined their Polyfilla application techniques and witness the difference in your home decorating endeavors.
Conclusion: Enhancing Home Renovation Projects with Polyfilla
Incorporating Quick Dry Polyfilla into your home renovation toolkit can significantly boost your project outcomes. Its quick-drying properties make it a preferred choice for DIY enthusiasts tackling everything from walls to floor repairs. As the filler effectively sets in a variety of environments, it becomes indispensable in both indoor and outdoor projects, including decorating tasks like renovating decking. Ensuring accurate and smooth application, combined with appropriate environmental conditions, enhances the reliability of your repairs. By avoiding common mistakes and implementing best practices, you’ll achieve a flawless finish. Remember to keep an eye on environmental factors and apply heat when necessary for optimal results. Bring your renovation visions to life with Polyfilla, and witness the incredible transformation in your home spaces. Ready to take your next steps in DIY? Make Polyfilla your go-to for every project.
| Benefits | Applications | Effectiveness | Best Practices |
|---|---|---|---|
| Quick Drying | Wall Repairs | High Adhesion | Ensure Clean Surface |
| Crack Resistance | Ceiling Repairs | Water Resistant | Use in Thin Layers |
| Smooth Finish | Wood Surface Repairs | Durable | Aim for Even Spread |
| Easy Sanding | Window Frames and Sills | Mold Resistant | Allow Proper Drying Time |
This table encapsulates how Quick Dry Polyfilla can transform your DIY projects, ensuring impactful and lasting results.
nderstanding the drying time of Quick Dry Polyfilla is crucial for achieving optimal results in your DIY projects. By considering factors like temperature, humidity, and the thickness of application, you can better plan your tasks and ensure smooth, professional finishes. Quick Dry Polyfilla offers a swift, efficient solution for repairs, significantly reducing waiting times without compromising on performance. As you embark on your renovation journey, remember that the right filler can make all the difference. Stay informed, and transform your spaces with confidence and ease. Discover more tips and tricks by exploring our downloadable guides today.
Frequently Asked Questions
What is Quick Dry Polyfilla and why is it popular?
Quick Dry Polyfilla is a fast-acting filler used for quick and efficient home repairs. Its popularity stems from its quick-drying capabilities which make it ideal for DIY enthusiasts and professionals working on home renovations.
What factors influence the drying time of Quick Dry Polyfilla?
Several factors influence the drying time, including:
- Layer thickness
- Temperature
- Humidity
Proper application ensures a quick and professional finish.
How should surfaces be prepared before applying Quick Dry Polyfilla?
Surfaces should be meticulously prepared for optimal results. This involves:
- Cleaning the area to remove dust and debris
- Sanding for a smooth texture
- Ensuring the surface is dry
Proper preparation enhances adhesion and the durability of Polyfilla applications.
How can you accelerate the drying process of Quick Dry Polyfilla?
To speed up drying, ensure:
- The workspace is warm and well-ventilated
- Thin layers of Polyfilla are applied
- Use of portable heaters or heat lamps in colder environments
These practices ensure a faster and seamless drying process.
Why is it important to choose the right paint after applying Polyfilla?
Choosing the appropriate paint enhances both aesthetics and the longevity of your project. A quality paint that complements the surface and the specific project requirements will ensure a professional finish and durability.
Consider using a primer before painting to prevent stains from bleeding through.