The expensive mistake usually happens before the pendant ever arrives.
The cabinets are chosen. The countertop is ordered. The island is on the plan. You may even know exactly which pendant style you like.
Then the electrician asks a very simple question:
“Where exactly do you want the junction boxes?”
That is when a surprising number of lighting plans fall apart.
Before ceiling locations are locked in, it helps to compare real pendant lights for kitchen island layouts by diameter, shade depth, number of fixtures, hanging height, and visual weight. This gives you a clearer sense of whether your island needs one large pendant, two balanced fixtures, or three smaller lights before moving junction boxes becomes expensive.
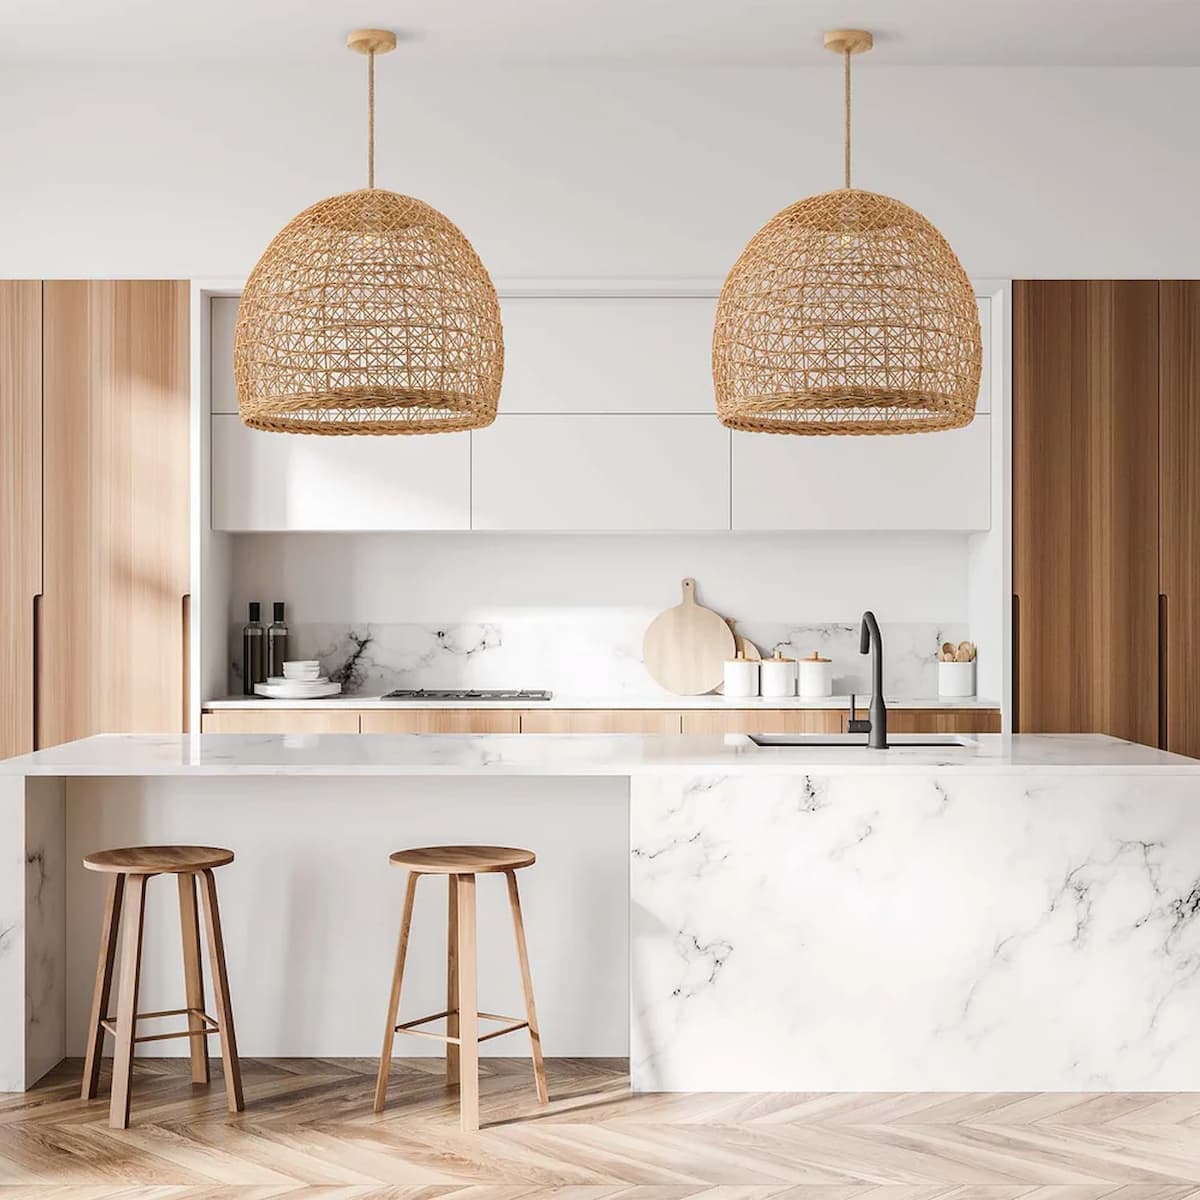
You may not know yet whether the island needs two pendants or three. The final fixture diameter may still be unclear. The island could change by several inches after cabinetry is finalized. A sink or cooktop may shift. Even the seating layout can affect where the lights should sit.
For kitchen island pendant lighting, the best time to solve spacing, height, and fixture count is before ceiling locations become expensive to change.
Finalize the Island Before You Mark the Ceiling
The ceiling layout should come after the island layout, not before it.
Before marking any junction-box position, confirm:
- the finished island length;
- the island width;
- the countertop overhang;
- the number and position of stools;
- sink location;
- cooktop location, if applicable;
- primary prep and serving zones.
These details matter because pendant lights usually relate to the island below them more than to the geometry of the room around them.
The center of the room is not necessarily the center of the island.
That distinction sounds obvious, but it is easy to miss on a reflected ceiling plan. In an open kitchen, the island may be intentionally offset from surrounding walls, cabinetry, or circulation paths. If the ceiling boxes are centered to the room instead of the island, the finished lighting can look subtly wrong even when every measurement is technically symmetrical.
Use the finished countertop as the primary reference point.
If the island is not yet built, mark its exact footprint on the floor with painter’s tape. That makes it much easier to understand how the lighting will relate to seating, walking paths, and the rest of the kitchen.

Decide What the Pendant Is Supposed to Light
Not every kitchen island does the same job.
Some are mostly for food prep. Others are breakfast bars. Some hold a sink or cooktop. Many are used for homework, serving, working from a laptop, and entertaining within the same day.
That changes what the lighting needs to do.
If the island is a primary prep surface, the pendants need to contribute useful illumination without creating strong shadows where someone is chopping or cooking.
If the island is mainly for seating, glare and sightlines may matter more. A fixture can be bright enough on paper and still be uncomfortable if an exposed bulb sits directly in someone’s field of view.
If the pendants are primarily decorative because recessed lighting already handles most of the task work, you may have more freedom with shade material and light distribution.
This is why a visually symmetrical layout is not automatically a good lighting layout.
A sink positioned near one end of the island or a cooktop offset from the center can change where stronger task lighting is needed. Pendants can still form a balanced composition, but they should not be expected to solve every lighting problem on their own.
Decide what each lighting layer is responsible for before deciding where each fixture goes.
Choose the Fixture Before Finalizing Junction Box Locations
One of the most useful changes you can make to a kitchen lighting plan is to select the approximate fixture before the electrician locks in the ceiling positions.
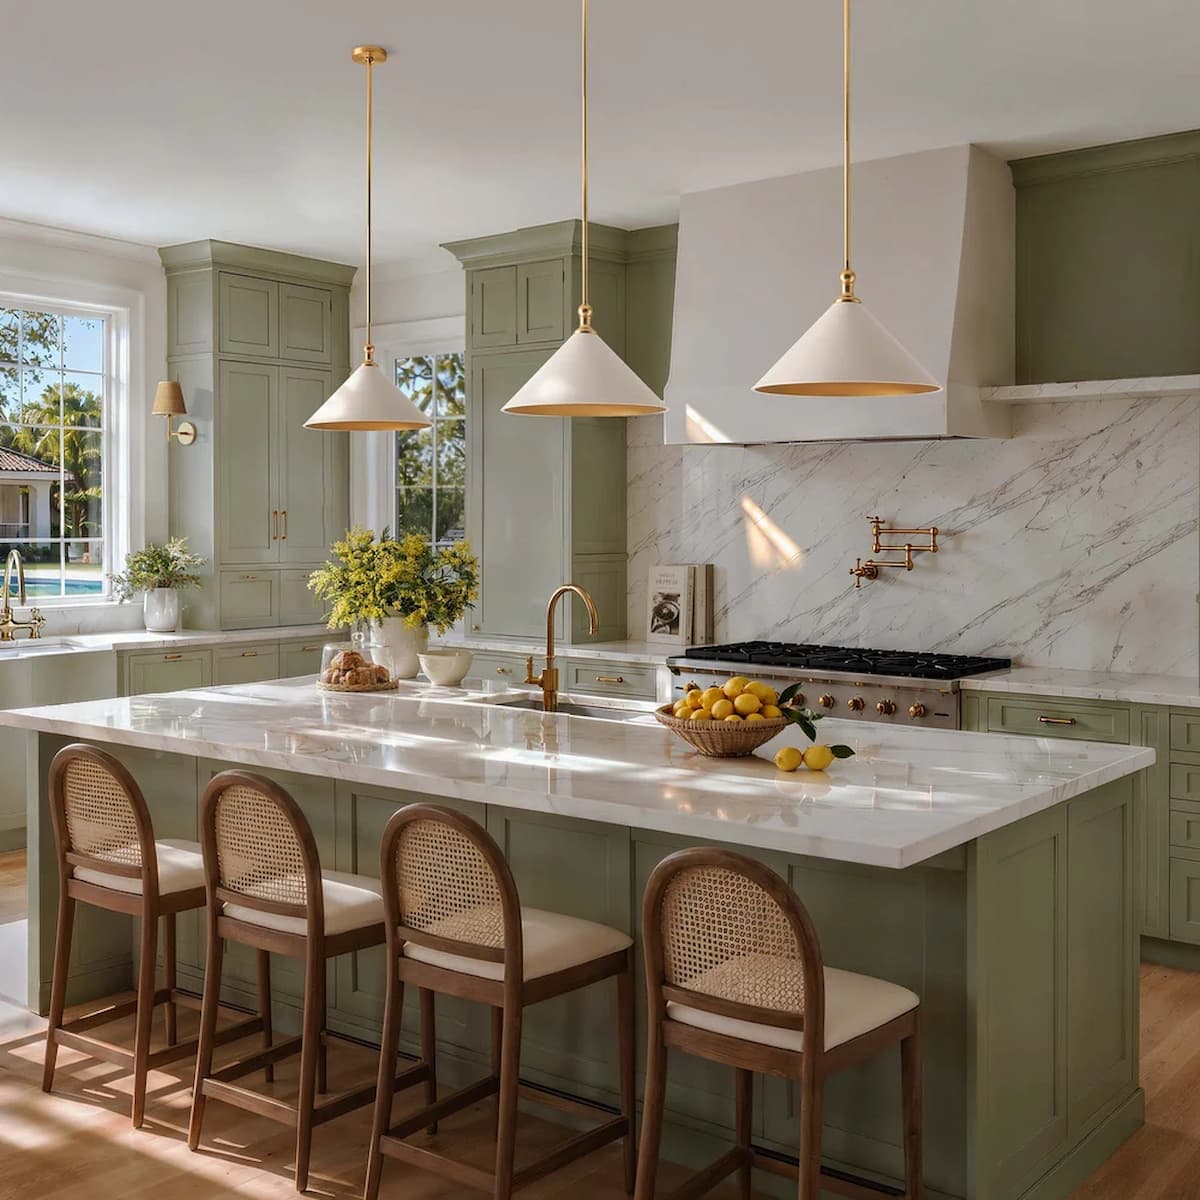
You do not necessarily need the fixture physically on site, but you should know its important dimensions.
Before final wiring, compare potential pendant lights for kitchen island spaces by more than finish and style. Check:
- fixture diameter;
- overall fixture height;
- canopy diameter;
- minimum and maximum drop;
- shade depth;
- light direction;
- how many fixtures you expect to use.
A three-pendant layout using narrow 10-inch shades is very different from a three-pendant layout using 18-inch domes.
The canopy matters too. A small canopy gives the electrician less tolerance for hiding an awkwardly placed ceiling opening than a broad mounting plate might. The fixture’s suspension method can also affect how precisely the box needs to align with the desired pendant center.
This is why choosing the style first but ignoring the actual dimensions can create problems later.
The electrical point is not just a technical location. It becomes the center of the finished fixture.
Two Pendants or Three? Let Size Decide
There is no useful universal rule that says every eight-foot island needs three pendants.
A better formula is:
island length + fixture diameter + visual weight + desired spacing = fixture count.
A six- or seven-foot island may work comfortably with two medium fixtures. An eight- or nine-foot island could work with two larger pendants or three smaller ones. Neither arrangement is automatically more correct.
What matters is how much of the island the lighting composition occupies.
Two Pendants
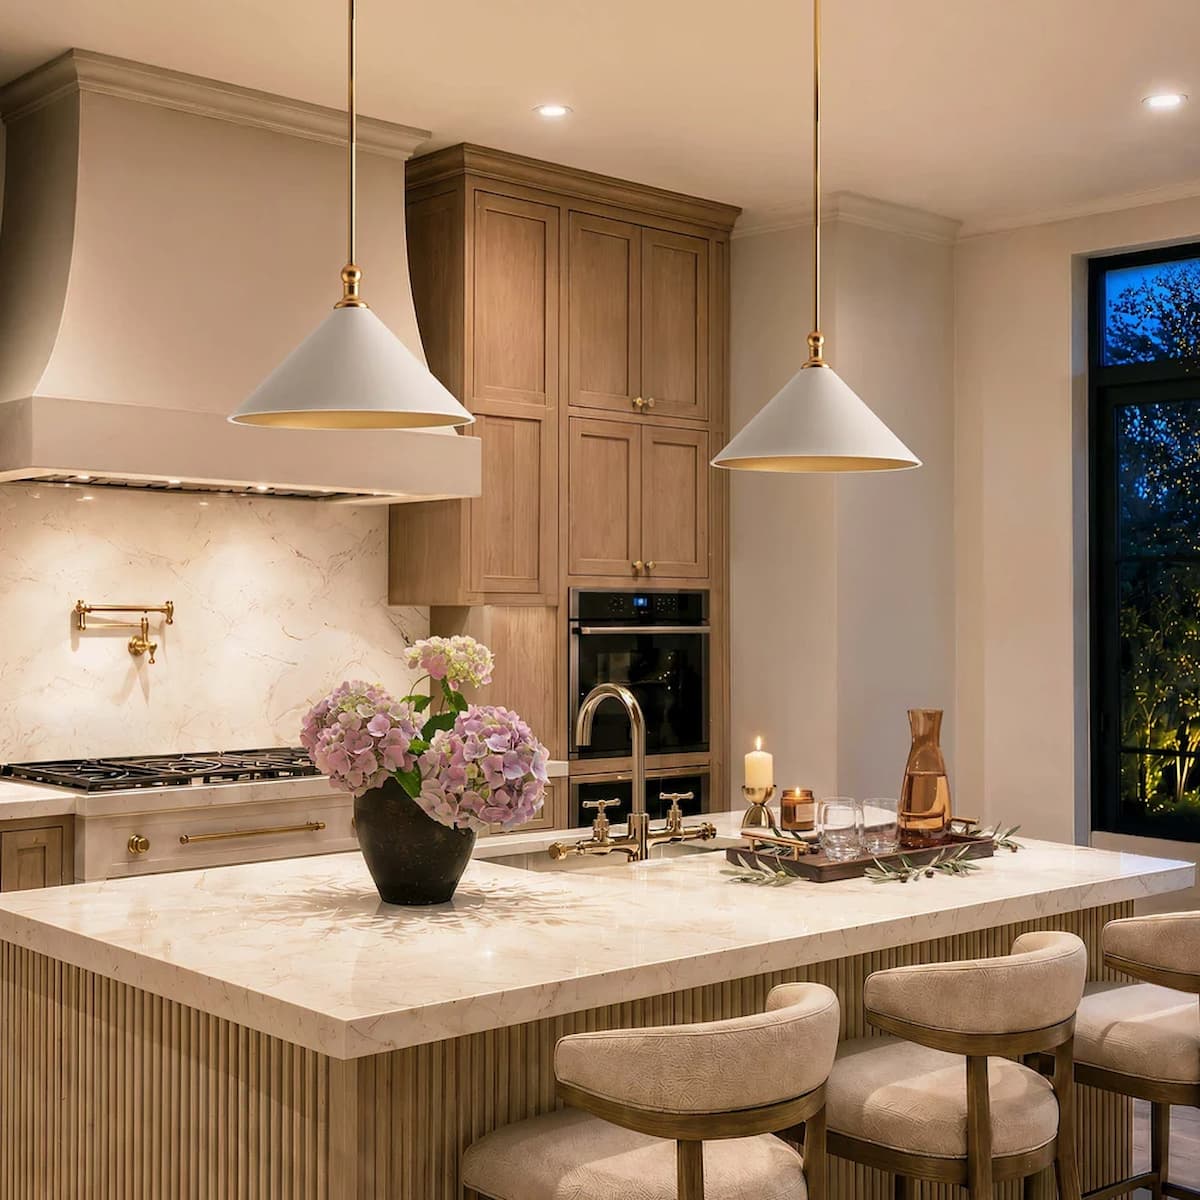
Two fixtures can work well when each pendant has enough visual presence to hold its own. This is often a good arrangement for larger dome, cone, globe, or woven shades.
It also creates fewer ceiling points, which can simplify the layout and leave more breathing room between fixtures.
Three Pendants
Three pendants can create a stronger rhythm over a long island, especially when the fixtures are smaller or visually lighter.
But three large shades can quickly feel crowded, even if the center-to-center spacing looks reasonable on paper.
Visual weight matters here. A transparent glass pendant and an opaque metal cone with the same diameter do not occupy the room in the same way.
Before deciding on quantity, draw the actual fixture diameters on the plan rather than marking only three small dots for the junction boxes.
Plan Height and Sightlines Together
A common starting range for pendant light height over island is roughly 30 to 36 inches between the countertop and the bottom of the fixture.
That is useful as a reference, but it should not become an automatic installation number.
Adjust the final height based on:
- the tallest regular users of the kitchen;
- ceiling height;
- shade depth;
- fixture diameter;
- whether bulbs are exposed;
- seated and standing sightlines.
A broad, deep shade may need to sit a little higher so it does not block conversation across the island. A more open fixture can often hang slightly lower without feeling intrusive.
If someone standing at the prep side of the island constantly has to look around the fixture to speak with a person seated opposite, the pendant is probably too low, too large, or both.
Before installation, make a simple mock-up.
Cut cardboard to roughly match the fixture diameter and suspend it from string at the proposed lowest point. Then stand at the sink, sit on the stools, walk through the kitchen, and look toward adjacent rooms.
It is a low-tech test, but it catches scale and sightline problems that ceiling drawings often miss.
Fixture Shape Changes the Electrical Plan
Diameter alone does not tell you how a pendant will occupy the space.
A wide cone shade and a narrow globe can have the same overall hanging height but require very different spacing.
A cone typically spreads outward as it drops, which means the widest part of the fixture may sit closer to eye level. A slim cylinder occupies less horizontal space. A clear globe may feel visually lighter than an opaque shade of the same width.
The Giza Cone Pendant Light is one example of why fixture geometry should be known before finalizing the ceiling layout. Its cone-shaped silhouette gives the fixture a defined horizontal footprint, which means spacing should be judged from the actual shade width rather than the canopy location alone.
The same principle applies to any pendant.
Before the electrical locations are finalized, check:
- the widest part of the shade;
- where that width occurs vertically;
- where the light is directed;
- how large the canopy is;
- how the suspension aligns with the shade center.
Two junction boxes that look perfectly spaced on the ceiling can still produce fixtures that feel too close together once the actual shades are hanging below them.
Plan Kitchen Island Pendant Spacing From the Fixture Edges
Center-to-center spacing is useful for electricians, but homeowners often understand the finished composition better by looking at the distance between the fixture edges.
Imagine two 18-inch pendants spaced 30 inches center to center. The visible gap between them is only 12 inches.
Now imagine two 10-inch pendants using the same center spacing. The visible gap becomes 20 inches.
The ceiling points did not change, but the room feels completely different.
This is why kitchen island pendant spacing should be tested using actual fixture diameters.
Also check the distance between the outer pendants and the ends of the island. Fixtures pushed too close to the ends can make the whole group feel stretched.
A simple drawing helps:
- Draw the finished island to scale.
- Draw circles or silhouettes representing the actual fixtures.
- Center the overall group over the island.
- Adjust the gaps between shades.
- Check end clearance.
Only after the composition looks right should the fixture centers become junction-box locations.
Coordinate Pendant Wiring With the Rest of the Kitchen
Pendant boxes are only one part of the ceiling plan.
Before installation, review the island lighting together with other kitchen systems and fixtures, including:
- recessed lighting;
- range hood location;
- skylights;
- ceiling beams;
- HVAC registers;
- sprinklers where applicable;
- ceiling joists or other structure;
- switch locations;
- dimmers and lighting controls.
This coordination matters because the best visual pendant position may conflict with something already occupying the ceiling cavity or finished ceiling plane.
A recessed light placed too close to a pendant can create an awkward cluster. A beam may force a mounting adjustment. A skylight can change where the island lighting feels visually balanced.
Do not wait until rough electrical work is underway to discover these conflicts.
The kitchen lighting layout should be reviewed as one ceiling composition rather than as separate decisions made by different trades.
Think About Switching and Dimming Before the Walls Close
Fixture placement gets most of the attention, but controls matter just as much once the kitchen is being used.
Ask whether the island pendants should operate independently from the recessed task lighting.
In many kitchens, that flexibility is useful.
You may want full task lighting while preparing dinner, then switch off the recessed lights and leave the pendants dimmed later in the evening.
If everything is tied to one control, you lose that option.
Exact electrical requirements depend on the project and local regulations, so this is a coordination discussion to have with the electrician rather than something to improvise after installation.
The important part is deciding how you expect to use the lighting before wiring becomes difficult to revise.
Conclusion
Good kitchen island pendant lighting starts long before the fixtures are switched on.
Finalize the island. Decide what the pendants need to illuminate. Choose the approximate fixture size. Use that size to determine quantity and spacing. Then coordinate the layout with the rest of the ceiling and electrical plan.
Do not let the position of an existing junction box decide the lighting design by default.
The best time to fix pendant spacing is on the drawing, not after holes have been cut in a finished ceiling.